"Unless the Lord builds the house, they labor in vain who build it."
-Psalm 127:1
With marriage and all coming sooner rather than later,
a big task that Sam and I have been taking on lately is finding a place to call our home once we're hitched. Surprisingly, when you don't have a very big budget to work with, your options are rather slim and quite sketchy for the most part. Needless to say, this verse has been on my heart a lot lately as I am constantly reminded that I need to take the time to pray for our future and a part of that is praying for the home we will one day reside in. So, what better way to offer myself this friendly reminder then to put it somewhere LARGE & IN CHARGE?
Also, I thought it would be a fab little DIY for you all to do for your own home. To find out more, read on below!
BEFORE:
MATERIALS:
Dusty old broken picture from my fiance's house
A pair of pliers
1 Pencil
Box Cutter
Very thin sheet of wood
Straight Edge
Water-Based Primer
Chalkboard Paint
Chip Brush/Roller & Tray
Chalk!
HOW TO:
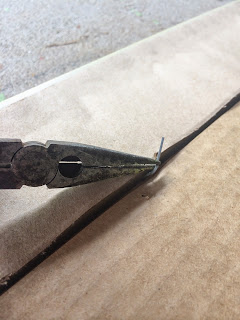
1. Using pliers, remove the staples from the back of your frame (left).
2. Lay the glass of the frame over your wood. Using your pencil,
trace along the edge to create guidelines (right).
3. Grab your box cutter & your straight edge & maybe even your dad, and line up your
straight edge with the line you just drew. Cut repeatedly until you have broken through to the other side. (PRO TIP: To preserve your blade longer and to cut through the board completely, try placing a sheet wood beneath the area you intend to cut as opposed to cutting directly on concrete.)
4. After you have your shape cut, wipe down your board with a damp paper towel (You would be surprised how much dust collects on the surface!). This step will ensure better adhesion when you start painting (left).
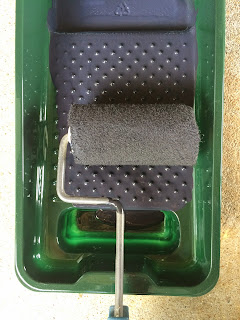
5. Then, using your chip brush or roller, apply your primer & allow it to dry COMPLETELY (right).
6. After the primer has dried entirely, apply your first coat of paint. Dry.
Apply second coat of paint. Dry (left).
7. Place the board in your frame & replace the backing of the original image over it. Use your staple gun to secure everything inside the frame (right).
8. Condition your new chalkboard thoroughly by rubbing the entire surface with chalk. Then, wipe it down with a wet rag.
Last but not least, create, draw and have fun!
Thoughts? Comments? Rad Quotes? Let me know below in the comment section!
ENJOY!


No comments:
Post a Comment